The image manipulation node straightens, crops and reframes a picture in one pass. It applies the photo’s own orientation so it is the right way up, cuts it to a fixed region or one built around the faces in it, forces a target aspect ratio — padding the margins with a blurred enlargement of the picture rather than black bars — and bounds the result’s size. All of it happens in a single step, and the original file is never modified: the reworked picture is a new artifact.
Unlike Image Generation, which invents new pixels, this node only rearranges the pixels it was given. It is the node that finally acts on the EXIF orientation every camera and phone writes — until now MetaLoom recorded that value but never used it, so portrait photos were handled sideways.
Kind |
|
Applies to |
Image assets. Video, audio and documents are skipped |
Input ports |
|
Output ports |
|
Requirements |
Nothing. No model, no sidecar, no external binary |
Persists to |
|
|
Important
|
The reworked file lives on the worker that produced it. Wire the |
The operations
You choose which operations run, and in which order, with the operations setting — a comma-separated
list. They are applied in one pass over the picture.
| Operation | What it does |
|---|---|
|
Turns and flips the picture according to its EXIF orientation, so it is upright. Must come first when used |
|
Cuts a fixed rectangle, given as fractions of the frame so one setting works at any resolution |
|
Frames the faces (or other detections) connected to the |
|
Forces a target ratio such as |
|
Shrinks the picture so its longest edge fits a limit, keeping its proportions |
The default, AUTOROTATE,ASPECT,RESIZE, straightens the picture, squares it to your target ratio and
bounds its size in one go.
Fixing vertical video
A portrait photo placed in a landscape frame usually gets two black bars down the sides. This node can fill those margins with a blurred, enlarged copy of the picture itself instead, which reads far better on a wide screen — the effect you see behind vertical clips on most video platforms.
Set the aspect operation to pad rather than crop, and choose the blurred fill:
|
|
|
|
|
|
|
|
With padFill set to a colour instead, the same setup gives you clean, classic bars in the colour of
your choice.
Subject-aware cropping
Connect the detections output of Face Detection to this node’s detections
port and use the SUBJECT_CROP operation. The node frames all of the detected faces together — a
group photo stays a group photo — pads a little breathing room around them, and expands the crop to
your target ratio without cutting anyone out.
If a picture has no faces in it, the node falls back to a centred crop by default, so a landscape in
the same library is still handled sensibly. You can instead have it skip such pictures, or treat them
as an error, with the subjectFallback setting.
Because face boxes are turned and moved along with the picture, autorotating and subject-cropping in the same step lands the crop on the right faces even for a sideways phone photo.
Output
Pictures are written as JPEG by default, which is right for photographs; choose PNG when you need lossless output or transparency. Transparent areas are flattened onto a background colour of your choice when writing JPEG, which cannot carry transparency.
Configuration

Seeing it run
Turn on Debug Mode and every node keeps what it produced, on the
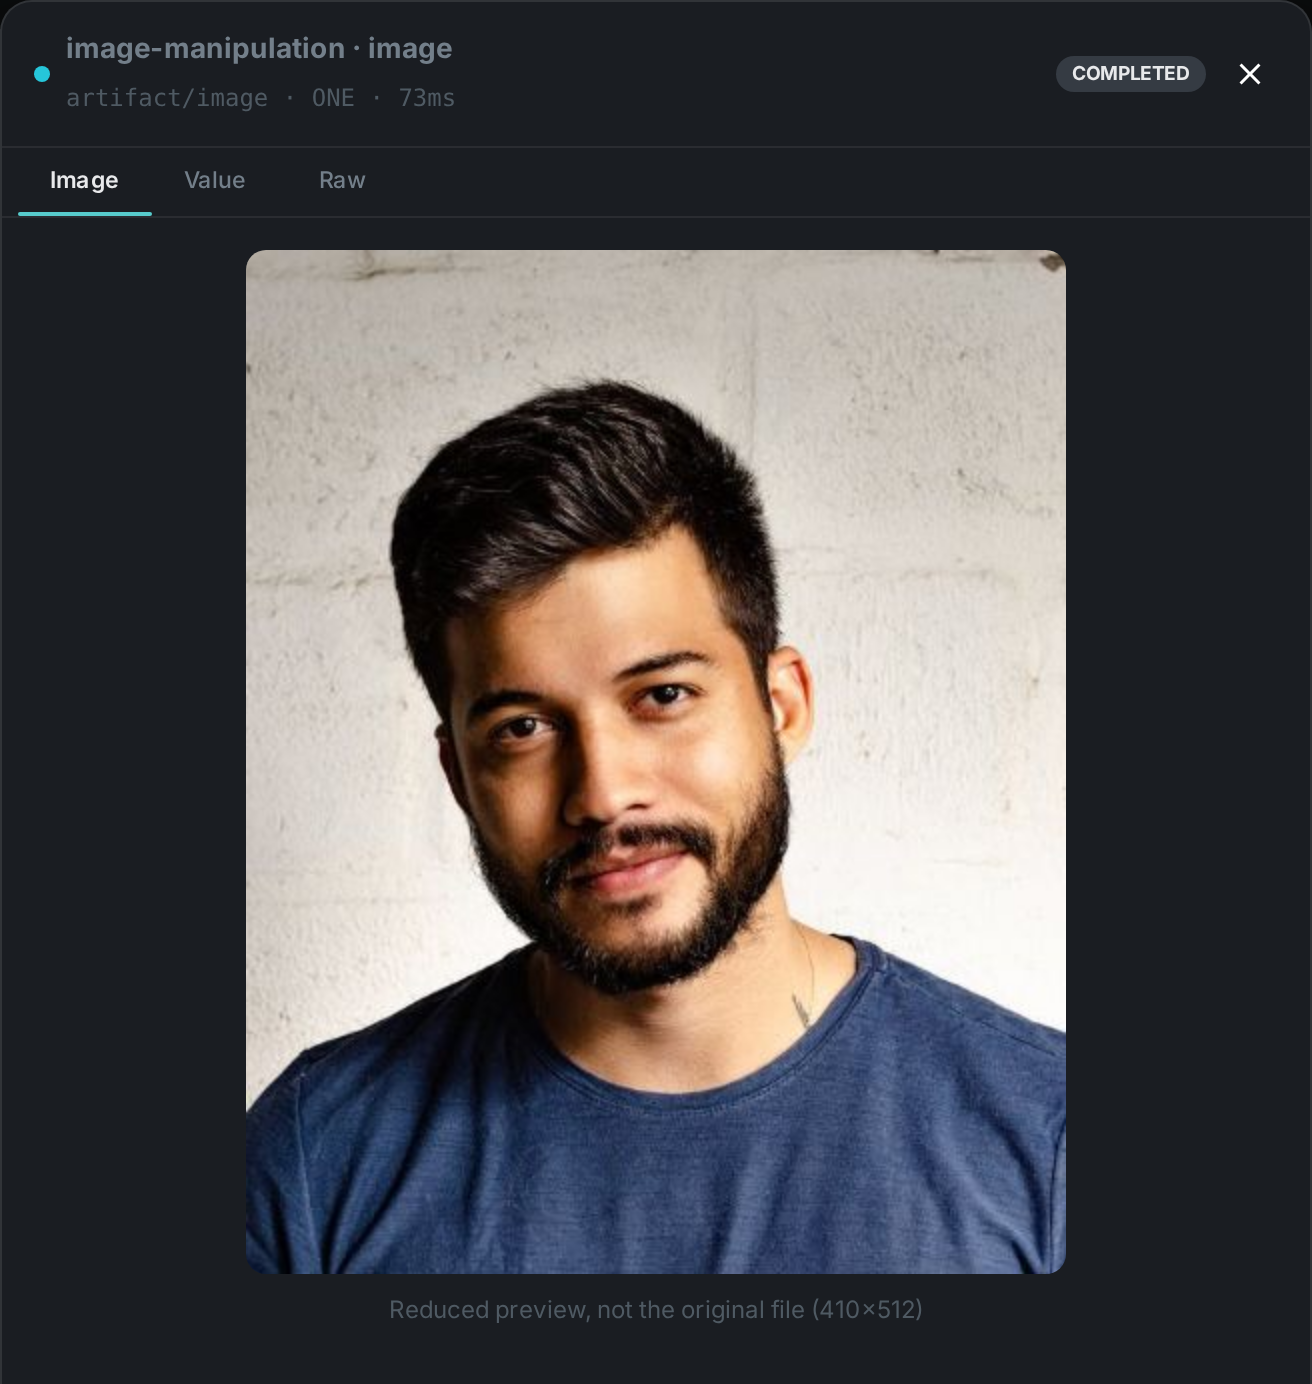
card itself. Below is a real run of this node over pexels-photo-2379005.jpeg.
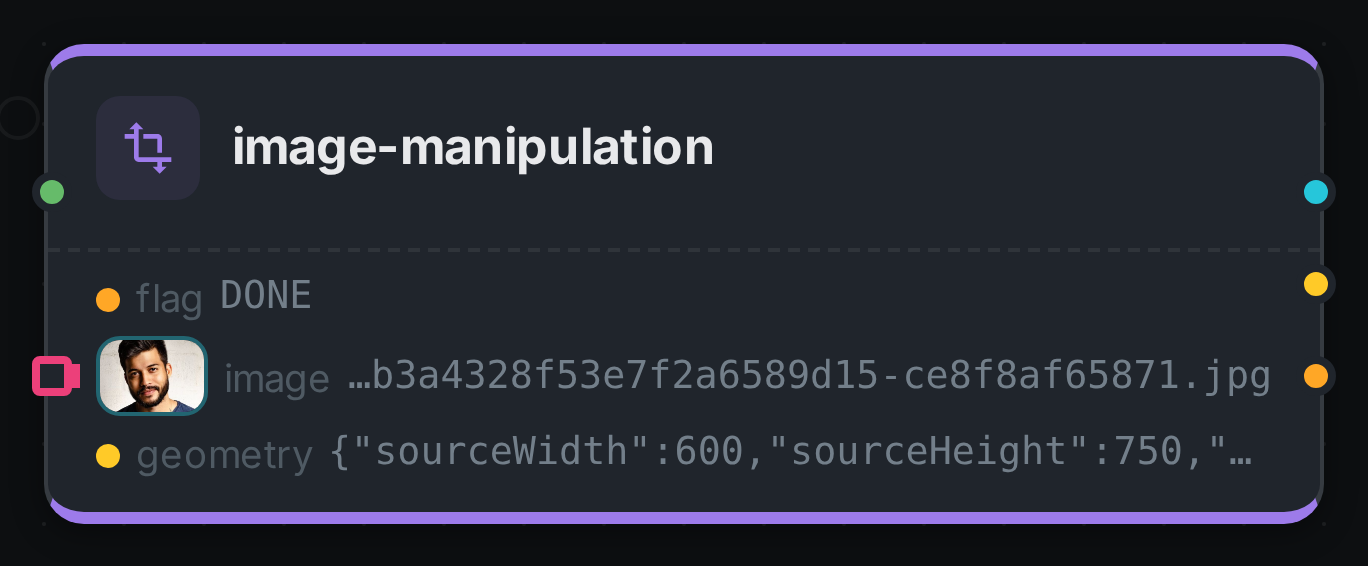
The strip on the card lists what each output port carried — flag, image, geometry.
Selecting one of them opens it full size.